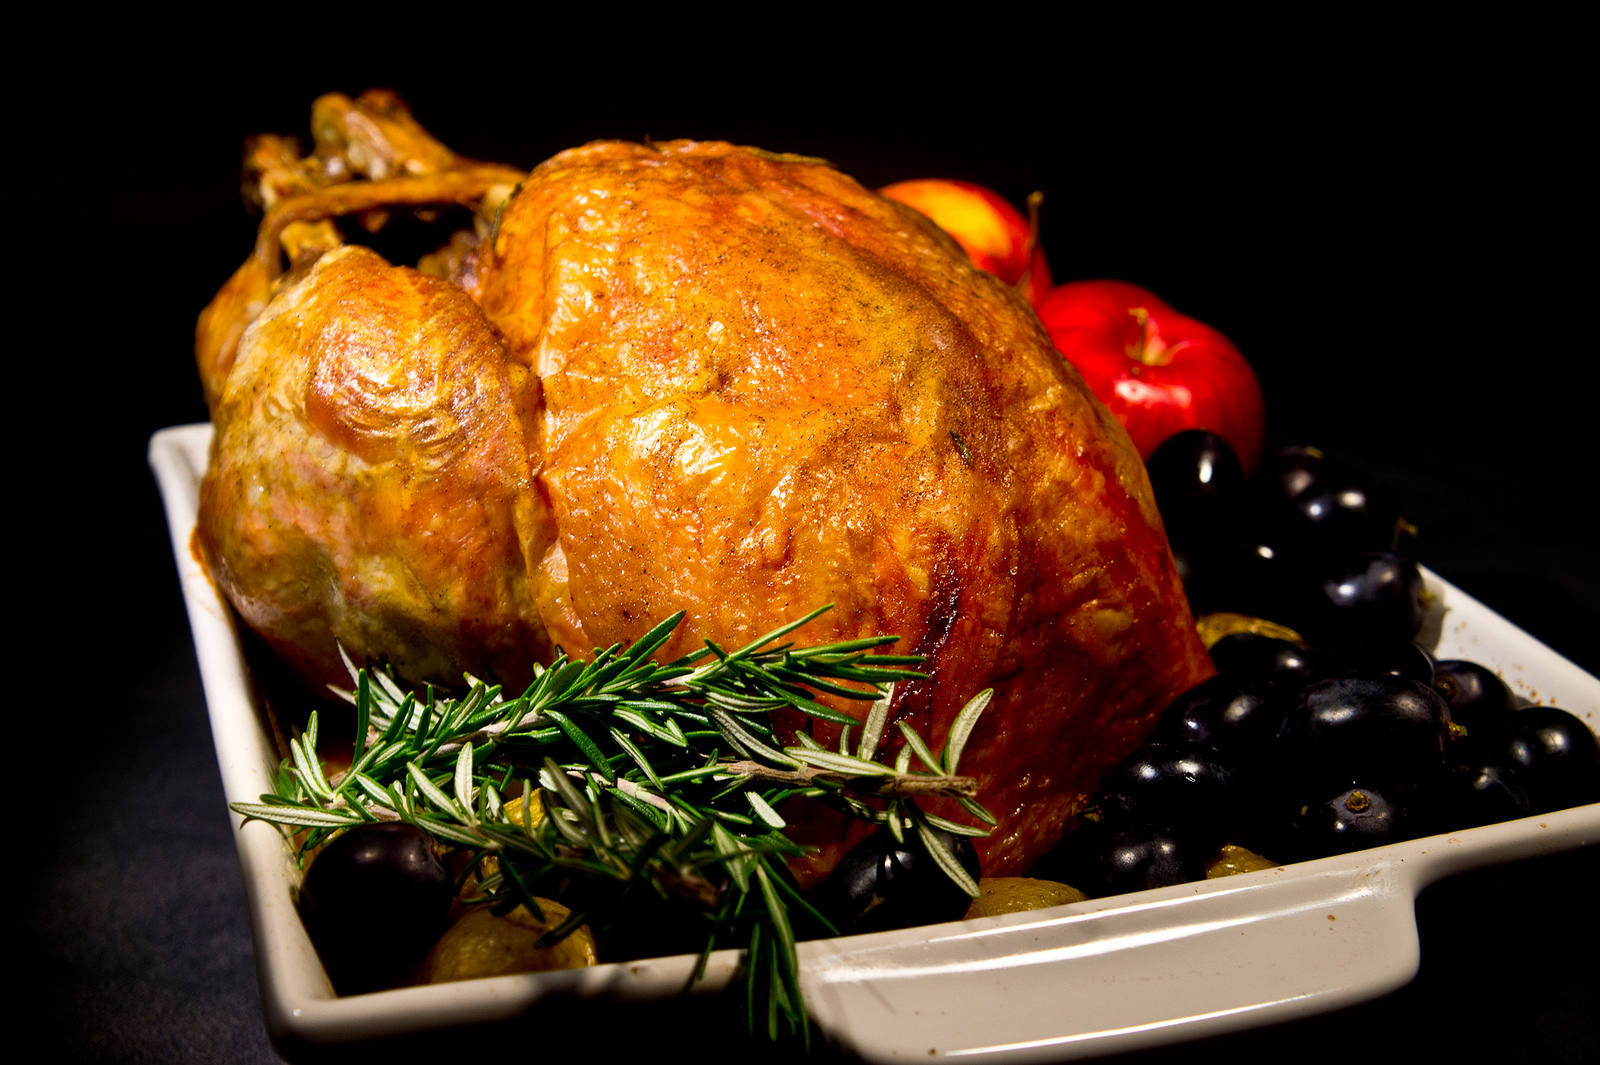
Tips for cooking your first thanksgiving turkey
With America’s most family friendly holiday just around the corner, you’re getting nervous. Pacing the floors, you are on the hook to cook your first Thanksgiving dinner for your extended family. This is a stressful time for any cook, experienced or novice, but by following a well established list of protocols, you can ensure that the experience of cooking your first thanksgiving turkey goes off without a hitch.
Here’s how to pull it off…
1) Thaw out your turkey the safe way
When you get your turkey, it may be tempting to wait until the last minute to begin preparations. Do NOT make this mistake as a rookie, as many first-time cooks resort to risky hacks like trying to thaw out their bird in the microwave, or putting in a sink under cold running water.
These practices fail to kill bacteria adequately, putting your guests at risk of contracting food poisoning. Not the first impression you want to leave with your in-laws during the first Thanksgiving at your house.
The smallest turkeys (8 to 12 pounds) take 2-3 days to thaw in the refrigerator, while those feeding extended family and friends with a massive turkey (21 to 24 pounds) will need to have it in the fridge for as long as 6 days to ensure that it has thawed satisfactorily.
2) Ensure your oven temperature settings are accurate
Many assume that because the dial on your oven temperature knob says 475 degrees, it must be the same inside. Even newer models can be poorly calibrated, so buy a separate oven thermometer and hang it from the oven rack and test it out by setting it to 250 degrees the day before to see if there’s any discrepancy. If there is, adjust your settings on Thanksgiving appropriately.
3) Get rid of the neck, giblets and ice from your bird
Many Thanksgiving newbies forget to dispose of the neck and the giblets in the excitement and nervousness of cooking on their first holiday, which results in nervous laughter and awkward facial expressions from family, friends and relatives.
Take the time to ensure that they have been removed, and check out the inside of your bird for leftover ice, which is often stuffed in turkeys to keep them cold when they are on sale. Doing so will ensure that your dignity remains intact on this special but stressful day.
4) Season it to your liking
Avoid putting stuffing in the turkey, as it is a health hazard to do so. To impart flavor to the bird without the risk of poisoning your guests, you can do two things. You can put aromatic vegetables like onion and/or garlic in the cavity (that will be disposed after cooking), and you can also apply seasoning to the surface of the skin, as well as underneath it. Salt, butter, spices – the sky is the limit!
5) Position your turkey correctly in the oven for optimal cooking
In addition to ensuring that your oven’s temperature controls are calibrated correctly, you need to place the turkey properly on the oven rack for proper cooking. Too low, and the process will take longer than expected.
Too high, and your finished product will be as dry as the Mojave Desert. Use the middle oven rack for most turkeys, but use the rack below that for bigger birds.
6) The actual process of cooking your bird – important things to know
Start the process by cooking your turkey at 475 degrees for the first twenty minutes, lowering it to 250 degrees afterward for every pound that the turkey weighs. This means that the mini bird that you cook for you and your partner solely will take at least 3 hours to cook, while those cooking for the entire extended family with a massive 24 pounder will take over 8 hours to finish (plan accordingly).
While you could do this faster by cooking at much higher temperatures, this results in a desiccated bird that is a chore to eat instead of a flavorful adventure. Resist the temptation to open the oven during cooking, as this will lengthen the time it takes to cook it properly … use an electric meat thermometer instead.


